Behind the Scenes
The Making of a Video celebrating 20 Years of Painting
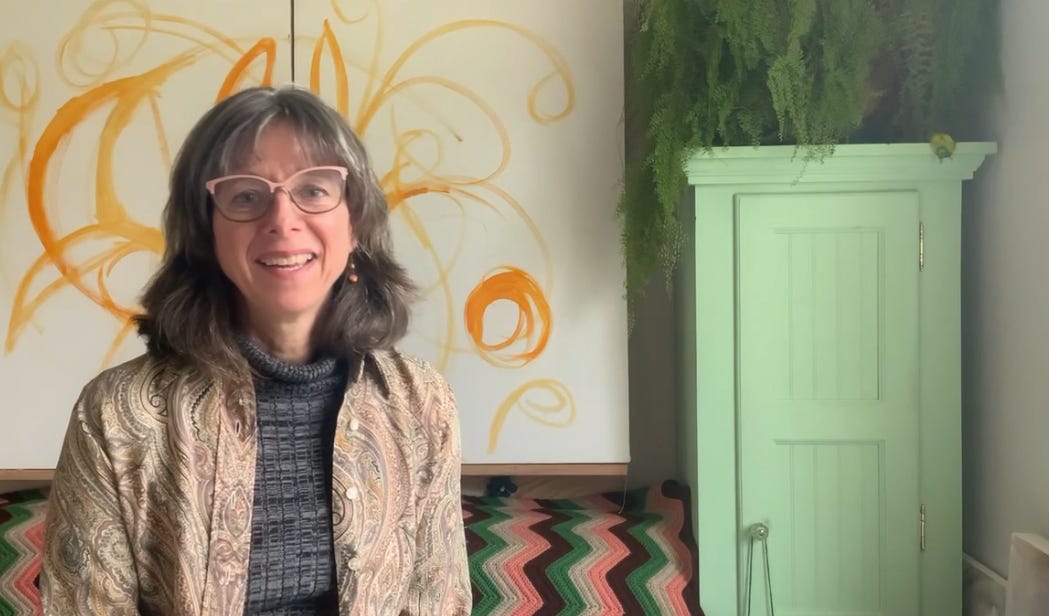
I released my latest video last Sunday: “Artist Talk | 20 Years of Painting”.
I won’t say it’s my best work, but I’m glad I did it. It allowed me to reflect on my career and solidify my painting goals for the coming year (even as I carve out more and more space for my mixed media work). It also forced me to reacquaint myself with the process of filming and editing, after making very few videos in 2023.
But, I admit, it was a struggle.
First, I realize as an independent artist many of my “deadlines” are self-made. However, the release date for this video was published on my website and announced in my newsletter well in advance. Making these fixed dates on the calendar is a great way to motivate me to complete the work. Even though I’m not foolish enough to think that anyone is breathlessly waiting for the video to drop, I still like to honor my commitments, even if they’re to myself. Therefore, a week before I was set to post the video online, I started to make a plan (although, as I noted below, I should’ve started sooner!)
Choosing Software
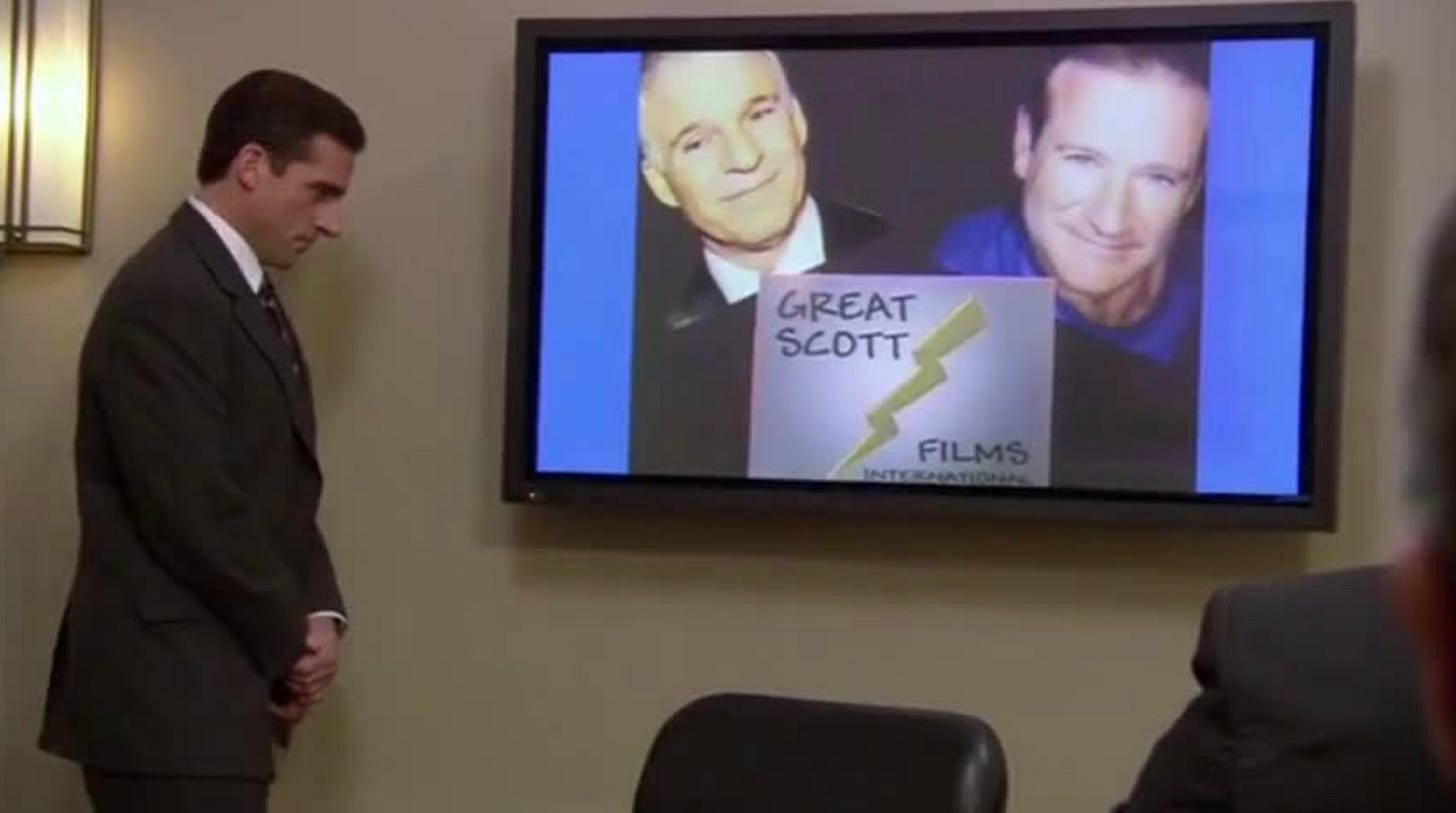
I will say right now that I am, by no means, a filming/directing/producing expert. I am fortunate to have access to the expertise of an awesome family member (my youngest, who also happens to be a Creative Media college student and adds occasional content on YouTube as “Some Film Student”), who has definitely helped me improve my video production skill set and has also thankfully encouraged me to transition from making videos using a combination of iMovie and Keynote. (Though I became pretty adept at using them, I was beginning to max out their capabilities, and I couldn’t stop picturing myself as Michael from The Office giving a business presentation to his bosses.)
Since I already had a license for the Adobe Suite to use Photoshop and InDesign, (last I checked, I’m being billed $54.99/month for the suite, while subscribing to only Premier Pro, is $22.99/month), I begrudgingly admitted that I should re-learn how to use Premier Pro (after thinking I would commit to learning it with last year’s introductory video). I quickly learned that I definitely let the skills I learned last year get stale. But, I’m slowly making progress, starting with the completion of last week’s “Artist Talk” video.
Planning Content
Before I started filming my “Artist Talk”, I created a list of what I wanted to include.
Personal Introduction
“20 Year” Subject Introduction
Arc of Career & with Images of Work
Celebration Plans and Events
Informational Links
Moments In the Studio
First Brushstrokes of the Year
I then organized them into a sequence that made sense and wrote out a basic script, noting where I would need video footage of me talking, where I wanted to add art images, and what other content I may want to include (e.g. a QR code, website image, “in the studio” footage). In the end, I used “cue cards” with questions written on them to help me navigate the “talk” portion, even holding them up in the video clips so that I knew where to make my edits. I even created text boxes within the final video to accentuate these placeholders for the viewer.
Filming
Before I start filming, I do my best to find a spot with decent lighting, a pleasing background, and somewhere for me to sit and talk comfortably. My latest video, I wanted in my studio but struggled with lighting since the only place to put the camera was creating harsh and uneven lighting from my window. I ended up using one light stand on the other side of the window to even it out, but in hindsight, it would have been better with two stands to simulate a three-point lighting system. (You can see an example of a three-point lighting set-up in this YouTube Tutorial from Think Media.)
Editing
When I started editing, that was when I realized I should have started this process much sooner! I had forgotten much of what I had learned for navigating the software, and I struggled with finding ways to clip together my “talk” to remove the nonsense (my on-camera repeating of content, “ums”, and my inexplicable stream-of-consciousness moments). I spent a day and a half trying to make it work before realizing I had edited it down to nothing but a commercial for upcoming events. It was no longer an “Artist Talk”. It didn’t feel authentic.
My Struggles
With one day left before I was supposed to upload my video (according to my “deadline”), I decided I needed to re-film my entire “talk”. So, after making an airport run at 5:00 a.m. to send my youngest back to college, I went home and re-shot and re-edited the entire video.
While it’s not perfect (see list below), I do feel like my second attempt at least got to the heart of what I was trying to share - a little recognition for this moment in time that I could never have imagined happening 20 years ago and gratitude to the people who supported me along the way.
Post Production Observations
My voice is not my voice
I know this happens to everyone, but I never understood why until “Some Film Student” wisely pointed it out to me: Talking conversationally with another person is not the same as talking to a camera (at least for non-actors such as myself). My final cut is better than my first attempt, but I can hear the higher pitch and careful wording that softens the sound my voice would usually make. (I’m probably also overcompensating for the throatiness that comes from my thyroid cysts.)
Color and Lighting Editing
I know I needed to edit the color (it was too warm) and the lightening (as I filmed and the day progressed, the lighting was getting darker), but I couldn’t remember how to do that and I just ran out of the energy and time to fix it.
I want a haircut
I’ve been growing out my hair (and especially my bangs) for a while, and I desperately need a proper cut. I have since fixed that particular problem. It’s funny to me how my hair can look great in the bathroom mirror, but on film, it looks completely different.
More Process
I want to show less of me talking and more of my process in future videos. I know this was made to be a short “Artist Talk”, but I would be more comfortable with less on-screen face time. I can still use the audio, but have other footage to put with it.
Sound Editing
I could not, for the life of me, remember how to do keyframes in Premier Pro so that I could raise and lower audio within a clip (to better manage the background music). I finally gave up, knowing that “Some Film Student” was still en route to school and unavailable to assist and I was too tired of editing to spend more time searching help (and YouTube) for information.
In Summary
I am happy I made the effort to mark this occasion and re-learn some skills. The results may not be everything I wanted them to be, but I know I will get better the more I try to do this. And, hopefully, it is a reminder to anyone who watches it that artists are real people just living and doing our best like everyone else while trying to find a way to make a living year after.
As Chicago-based artist, Nate Otto, recently noted on Threads:
Everyone is familiar with the starving artist trope and the wealthy artist dream, but there is a middle ground… The middle class artist exists.
20 years later, I am surprised and grateful to be able to count myself as a “middle class aritst”.
~ Jennifer


